I won't claim that what I did is the best procedure. If you can follow the exact instructions from the book, I'd say to follow those. This procedure is a hack for someone who doesn't have a real nursery or lab at his disposal.
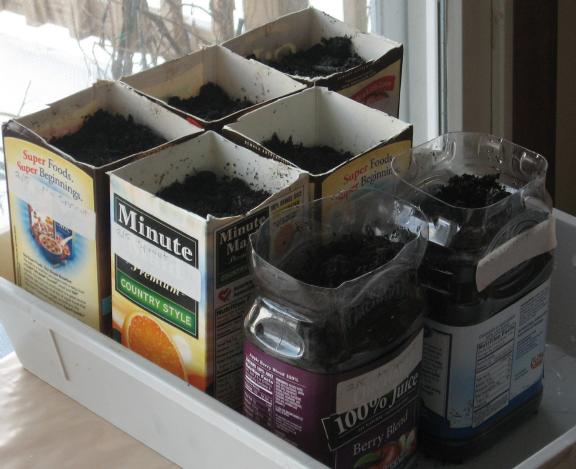
For pots, I used 5 empty 1/2 gallon waxed paper milk cartons. I cut off the tops just at the fold. I also used 2 empty 1/2 gallon plastic fruit juice bottles. I cut off the top of these as the top starts to narrow.
In both cases, I put small drain slits on the side of the pot, about 1/8 inch up from the bottom. I put these on the side instead of the bottom with the idea that the wax-paper pots aren't very sturdy and I was afraid that drain holes on the bottom would seal shut as the pots settled against the tray.
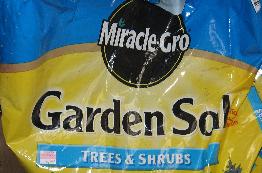
| I planted the seeds in Miracle Gro brand Tree and Shrub planting soil. I chose this from the selection at the local garden store because this mix included peat moss, and I hoped it would be lower pH than normal potting soil. |
|
For each seed, I followed this procedure:
| I filled the pot to within about 1.5 to 2 inches of the top with soil. I tamped down the soil by lifting the pot about 2 inches, and letting it fall to the floor a couple times. After the pot was almost filled I placed a seed in the pot. | |
| If the seed had not yet sprouted, I placed it sideways, like this | 
|
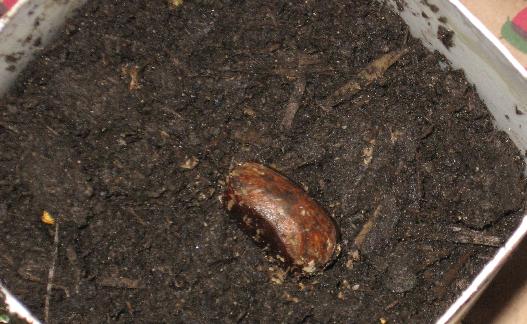
| If the seed had already sprouted, I shoved a finger into the soil to make a hole for the root, and planted it root down. |
| Once the seed was planted, I put in about 1 more cup of soil to cover it. | 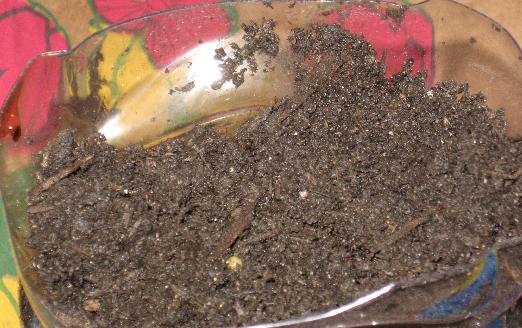
|
| After the seed was planted, I poured about 6 oz of water into the top of the pot to make sure the soil wasn't too dry. |
When I ran out of pots, I put them into a tray, and set them in a
north facing window, about 3 feet below a small growlight.